USB Restauration in Linux
in Linux / Tools on Fdisk, Cli
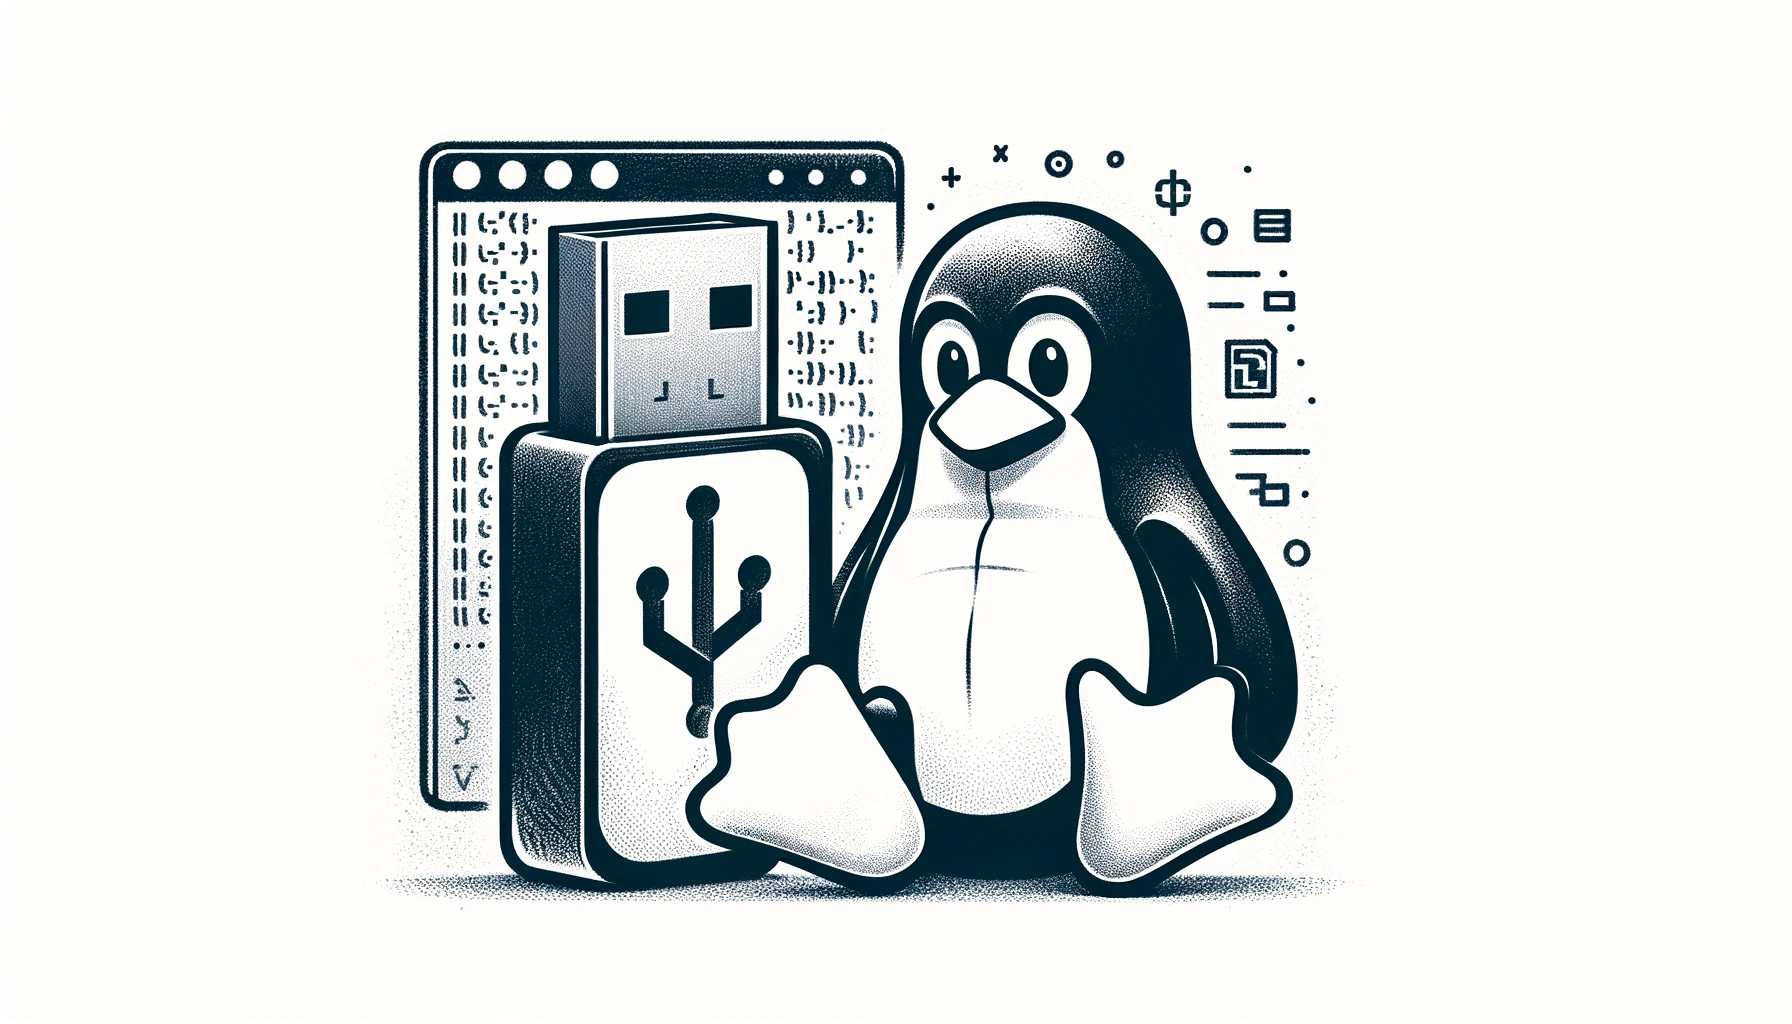
Restoring a USB Key to its Original State Using Linux
This tutorial, goes through the process of wiping, resetting, partitioning, and formatting a USB drive using a Linux terminal.
Step 1: Deleting Old Partitions
The first step is to delete any old partitions that remain on the USB key. Follow these steps to do it:
- Open a terminal by pressing
Ctrl+Alt+T. - Type
sudo suto get root access. - Type
fdisk -lto list the drives and note the letter assigned to your flash drive. - Type
fdisk /dev/sdx(replacexwith your drive letter). - Type
dto delete a partition. - Select the partition to delete by typing
1and pressingenter. - Repeat steps 5-6 if there are other partitions to be deleted.
Step 2: Creating a New Partition
Next, we will create a new partition on the USB key:
- Type
nto make a new partition. - Type
pand pressenterto make this partition primary. - Type
1and then pressenterto make this the first partition. - Press
enterto accept the default first sector. - Press
enteragain to accept the default last sector. - Type
wto write the new partition information to the USB key. - Type
umount /dev/sdx1(replacexwith your drive letter).
Step 3: Creating a Filesystem
Lastly, we create the filesystem, either fat32 or exFAT:
- For Fat32: type
mkfs.vfat -F 32 /dev/sdx1(replacexwith your drive letter) - For exFAT (on Ubuntu or Debian): first, install the necessary utilities by typing
apt install exfat-utils. Then, typemkfs.exfat /dev/sdx1(replacexwith your drive letter)
That’s it! You now have a restored USB key with a single exFAT or fat32 formatted partition that can be read from any computer. This method works on Windows, Linux, or MacOS operating systems for formatting a USB to restore USB drives back to full capacity.
Original Source: Restore USB drives back to full capacity